How to make a lyric video: a step-by-step guide
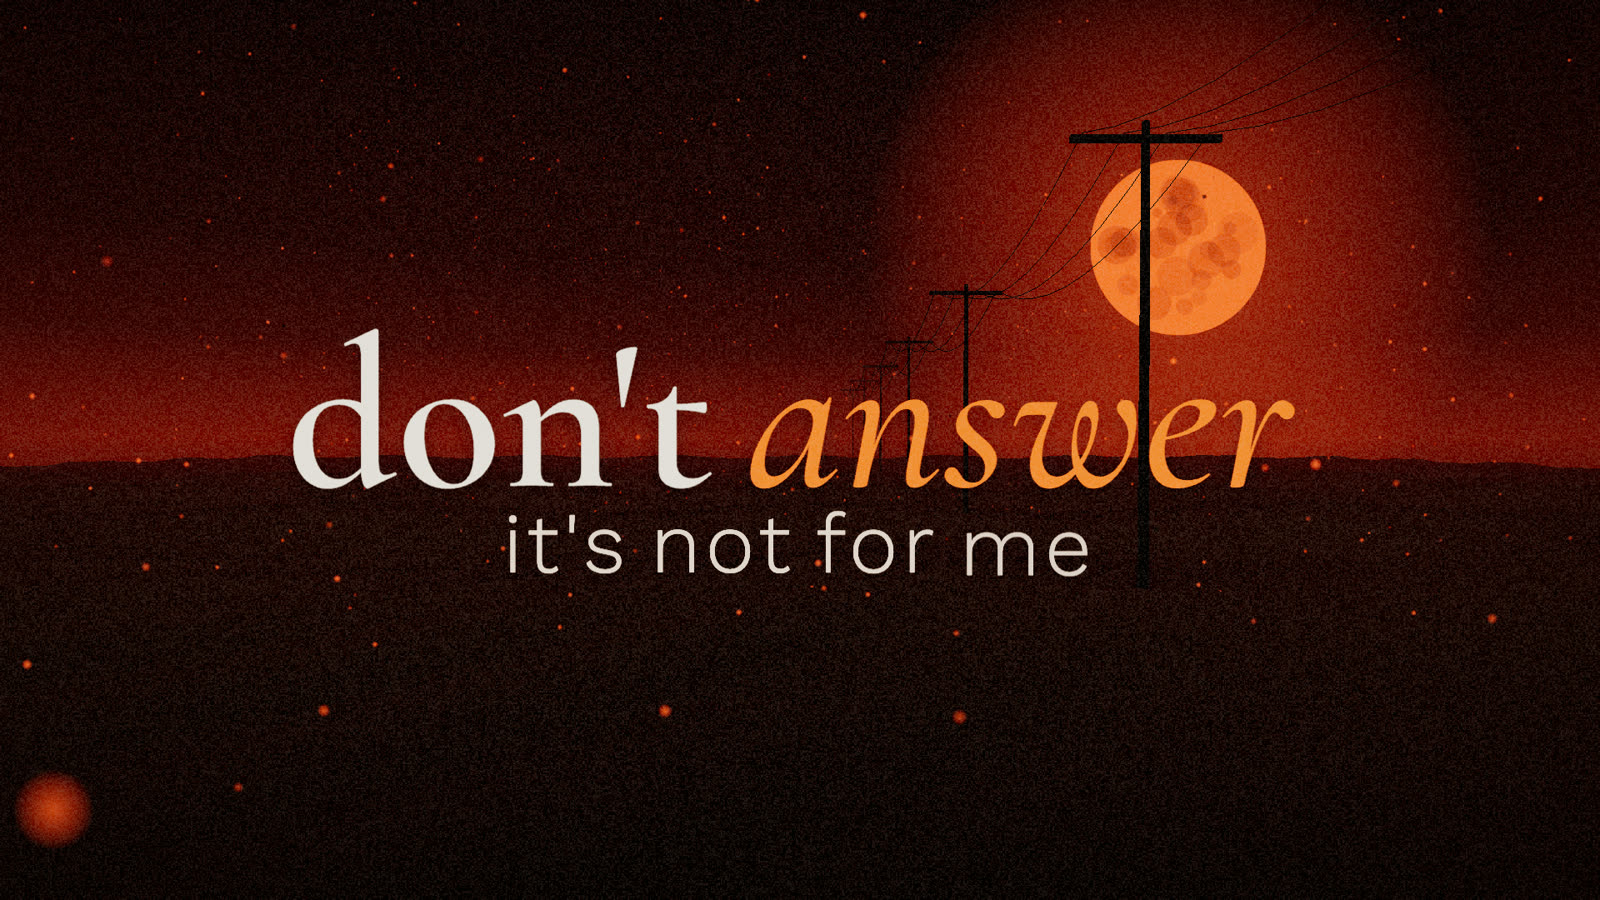
A lyric video is the simplest music video there is: your song, its words, and something to look at. Done well, it's where people learn your lyrics and come back to sing along. Here's the whole process, from the text file to the upload, whichever tool you use.
1. Decide which lyric video you're making
"Lyric video" means two different things now, and they're made differently:
| Full-length | The whole song, horizontal 16:9 at 1920 by 1080, for YouTube. People watch it to listen. |
|---|---|
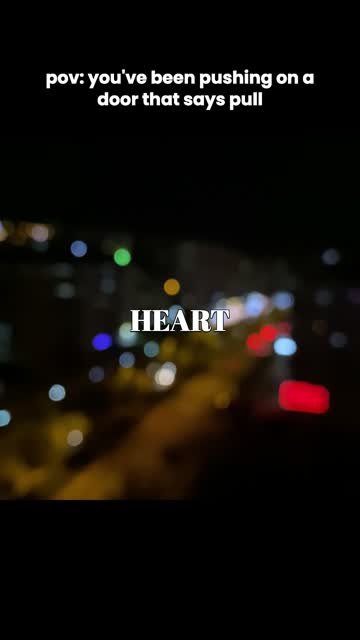
| Short clips | 10 to 20 seconds of the chorus, vertical 9:16 at 1080 by 1920, for TikTok, Reels and Shorts. People see it while scrolling. |
Most releases need both: one full video that sits on YouTube for years, and a stream of short clips that send people to it. Decide which one you're making before you open any tool, because the size, the pace and the amount of text on screen all follow from it.
2. Get the lyrics exactly right
Mistakes here end up in every frame, so fix them first:
- Write what is actually sung in the final mix, not the notebook version. Check every word against the recording.
- One sung line per line of text. Split long lines where the singer breathes.
- Write out every repeat of the chorus; don't put "x2".
- Decide on ad-libs and backing vocals: include them in brackets or leave them out, but be consistent.
- Check spelling, capitals and punctuation once. Lower case everywhere is a style; random capitals are a typo.
3. Time every line to the vocal
This is the part that separates a lyric video from a slideshow. Three ways to do it:
- By hand in a video editor. Place each text block on the timeline and drag its start and end. Accurate, slow, and painful to redo.
- Tap along. Play the song and press a key on each word or line; the tool records the times. Fast for a short part, and you can nudge mistakes afterwards.
- Automatic. The vocal is separated from the mix and the words are aligned to it. Seconds instead of an hour; worth a quick check on fast or mumbled parts.
Whichever you use, a line should appear as it starts being sung, not a beat early, and stay until the next line takes over or the singing stops. For short clips, timing each word rather than each line looks livelier.
4. Choose what people look at
The picture sets the mood before a single word lands. The common choices:
Typography on a plain background
Just the words, animated. Cheap and clean, but everything rests on the type, so it needs real design work to not look like a karaoke screen.
Footage
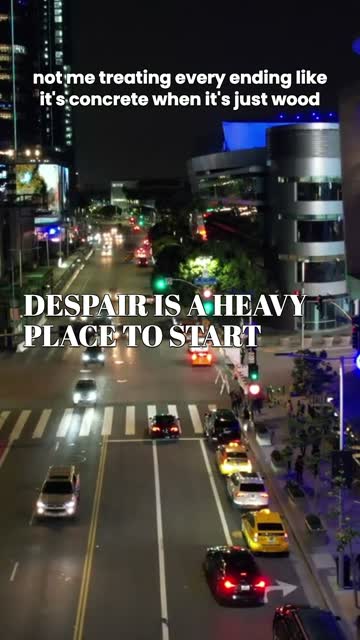
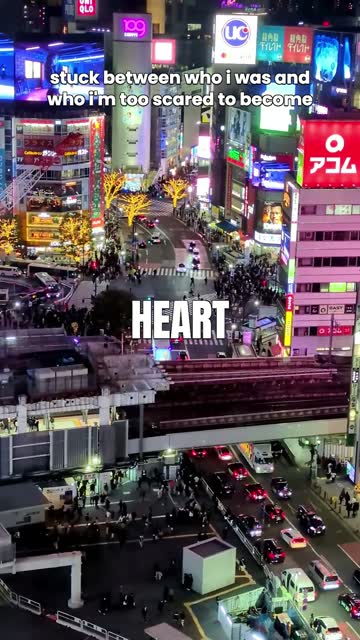
Clips that match the song's mood under the words: a city at night, rain, roads, the sea. Stock footage packs or clips you shot yourself. It's the most popular style for a reason: it looks like a music video without a shoot.
A built world
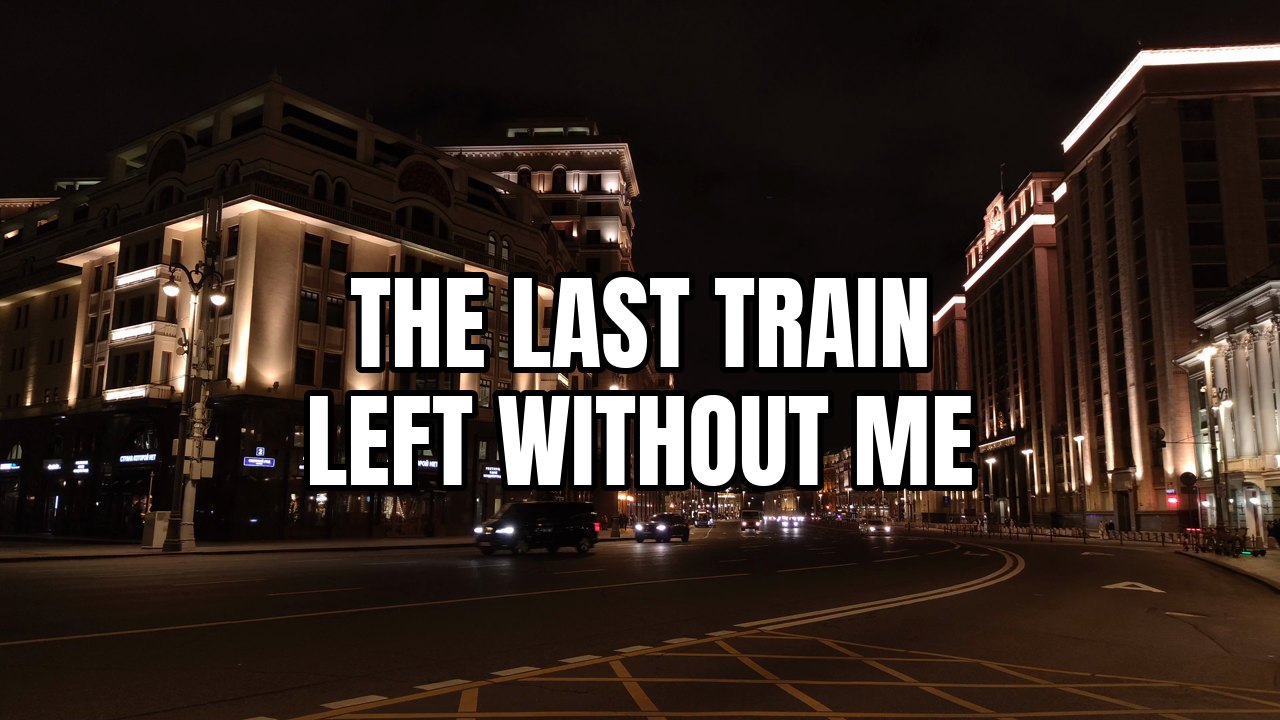
An animated or 3D scene designed around the song: a sky, a landscape, objects that come from what the lyrics are about, with the words placed inside it. It takes the most work by hand, and it's the most distinctive.
Album art with motion
The cover, slowly zooming or moving, with the lyrics on top. Quick and on-brand, but it gets static over a whole song; better for short clips.
5. Make the words readable
- Pick a font that fits the genre: condensed bold for rap and rock, a serif for ballads, rounded or handwritten for softer pop. One font, maybe a second for accent words.
- Size it for a phone. Even a YouTube video is mostly watched on phones. If you have to squint on yours, it's too small.
- Give it contrast: an outline, a shadow or a darkened background behind the text. Footage changes brightness every shot; the words can't disappear.
- Limit what's on screen: one line, two at most. For vertical clips, one word or a short phrase at a time.
- Leave margins. On vertical clips keep the text away from the bottom and right edges, where TikTok and Reels put their buttons.
- Emphasise sparingly. One accent word per line, in colour or italics, reads as intent. Every word highlighted reads as noise.
6. Cut it to the music
- Change shots on the beat or on bar lines, not at random.
- Make the chorus look different from the verses: faster cuts, a colour change, new imagery. Viewers should feel the chorus arrive.
- Avoid cutting in the middle of a line when you can; let the picture change with the words.
- For short clips, start on the strongest frame. The first second decides whether anyone stays.
7. Export and upload
- YouTube: MP4 (H.264), 1920 by 1080, the song's full audio. Title it "Song - Artist (Lyric Video)", paste the lyrics into the description, and link the streaming release.
- TikTok, Reels, Shorts: MP4, 1080 by 1920, 10 to 20 seconds. Post several clips of the same part with different footage or captions rather than one.
- Watch the export once all the way through on your phone before posting. Typos and early lines show up there, not in the editor.
Doing it with still.frame
still.frame does steps 3 to 7 for you, in three ways:
- Short lyric edits: upload the chorus and its lyrics, pick a footage mood, and get up to ten vertical clips per click, each word timed to the vocal, with a hook line on top. The free plan makes 10.
- Full-length footage lyric videos: mood footage cut to the whole track, every line on the vocal, 1080p for YouTube.
- Full-length 3D lyric videos: a 3D world styled from what your lyrics mean, words landing on the vocal, with one free restyle per video.
Full-length videos come with every paid plan, from one of each a month on Starter at $10. Before the final render you can swap clips, change the font or fix words, depending on the mode, and nothing carries a watermark.
Checklist before you publish
- Every word matches the recording.
- No line appears before it's sung.
- Text is readable on a phone, over the brightest shot.
- The chorus looks different from the verses.
- Correct size: 1920 by 1080 for YouTube, 1080 by 1920 for vertical.
- No watermark, no stray logo, no black frames at the end.
- Title, description with lyrics, and a link to the song.